904-090
December 14, 2007
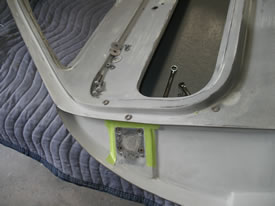
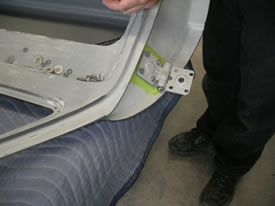
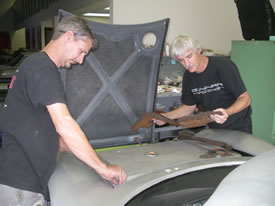
The doors
get adjusted and re-adjusted about 20 times before I am satisfied
with the final fit. We discovered that one of the hinges was
installed upside down, so Andy has just changed it. These
doors need the inside texture, which will take place this
weekend. Final paint will be applied Monday or Tuesday.
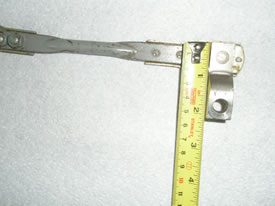
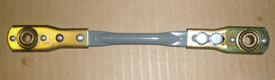
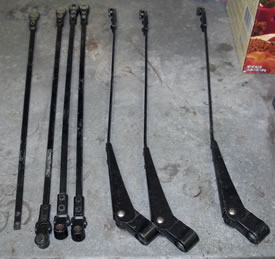
We blueprint
all these windshield wiper parts for future projects.
As it
ends up, we have enough NOS parts for both 068 and 119.
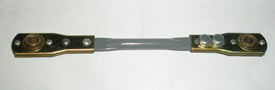
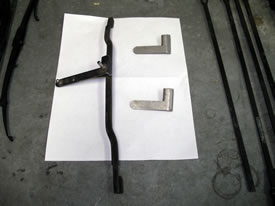
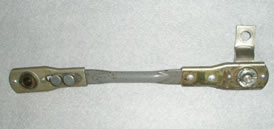
These
are the finished parts for 090.
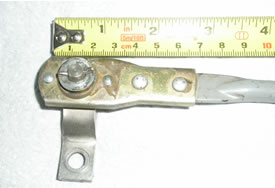
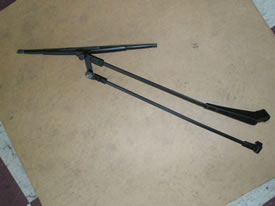
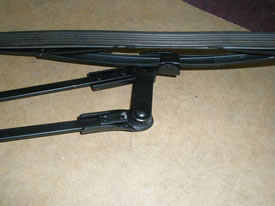
The good
news is...040 loaned us a perfect original windshield wiper
setup.
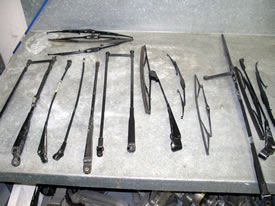
The even
better news is that through 30 years of collecting this shit,
I have enough parts, minus a few brackets, to make windshield
wiper arms for 068, 090, and 119.
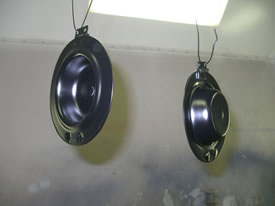
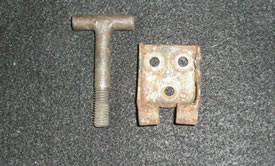
These
parts are really rare. The picture on the right shows the
inside fender headlight cover brackets. These little guys
slide over the bottom of the covers you see in the picture
below. They hold the caps in place.
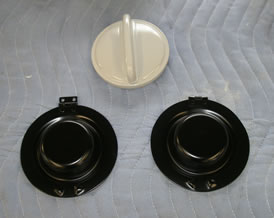
More fender
light covers and the gas cap for 068 ready for paint.
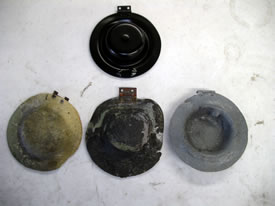
Here are
various headlight covers and what they look like after 40
years of road rocks. These have been repaired, and what a
great job in getting them to look original...NOT! But they
did keep the headlights from breaking.
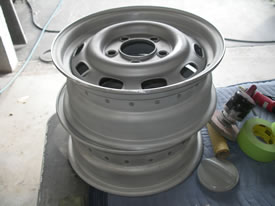
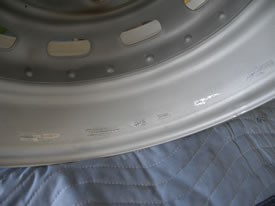
You can
see the steel rivets on the inside of the rim. All 904's should
have these wheels, but racing with them is really risky because
they are very rare!!
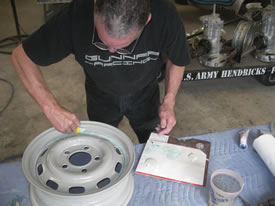
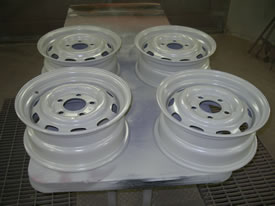
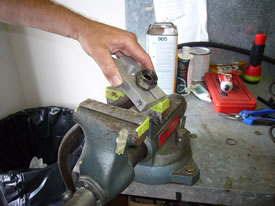
I have
been sanding and metal finishing for 4 days, but they are
nice now.
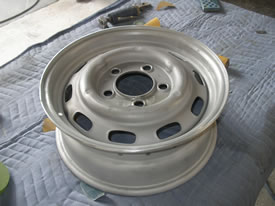
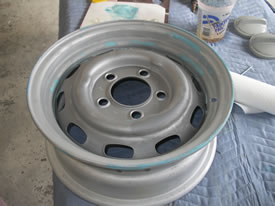
The holes
are too small to weld, and too big to be covered in paint,
so we use a little filler and then urethane primer.
Remember,
in Florida or high humid areas, you have to cover the aluminum
surface within about an hour of sanding. Otherwise the oxidation
will cause a weak paint adhesion.
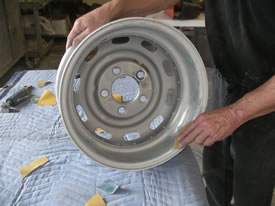
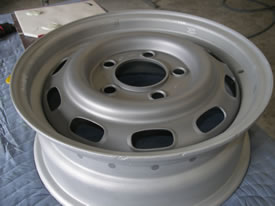
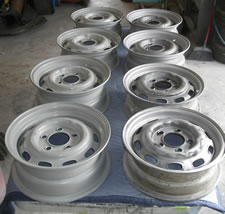
I have
laid both sets of wheels out to remind me how much fun restoring
wheels is...yea...right!
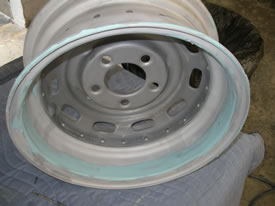
Ready
for paint and ready for restoration.
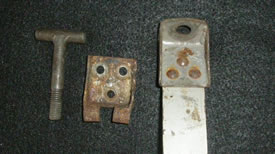
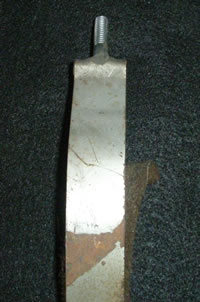
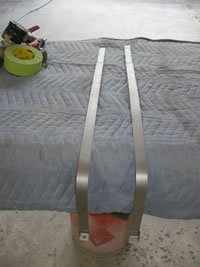
Tom's
gas tank straps are in pretty good condition. His gas tank
needed a complete surface re-do.
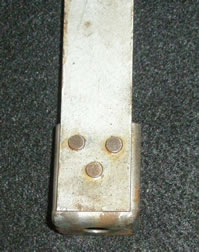
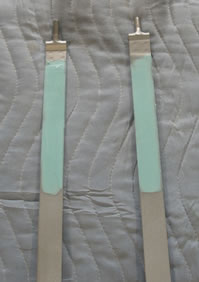
Just some
detail shots as to where these parts go. The picture on the
right is the lower passenger side of the fuel tank and how
the strap mounts to the fiberglass trunk.
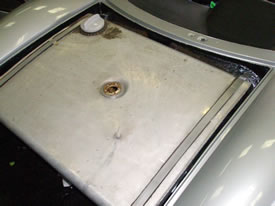
What condition...what
condition was in.
Same ol...same
ol.
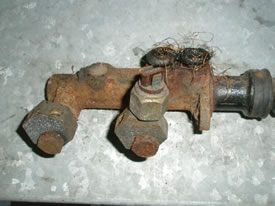
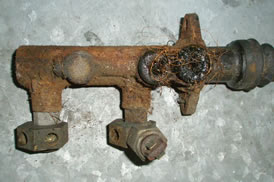
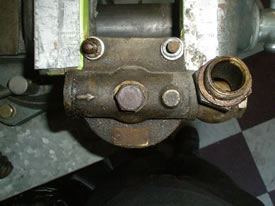
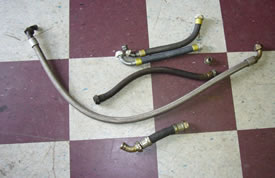
More junk
parts that have to be converted to receive the 6 cylinder
engine. These oil lines will be saved for the 4 cylinder engine
and we will have to make new for the 6.
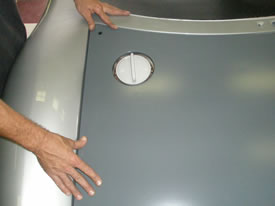
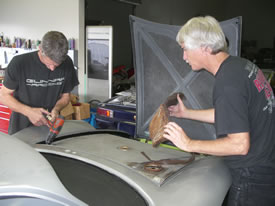
Hood alignment
is important before the final paint. You'd be surprised on
how many tanks are centered in the hood hole. If you're off
a little, that's normally pretty good.
The hood
has been off and on 10 times. The tank has been in and out
more than that to make sure that the strap placement holes
all line up in conjunction with the fitting of the gas tank
opening (gas cap and the hood opening).
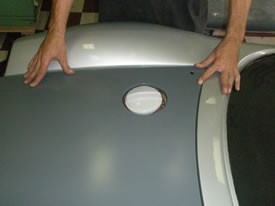
This was
the 20th time...o.k., maybe the 4th time the tank has been
in and out.
The tank
is adjusted with horsehair pads. Thick pads, skinny pads,
or even peach fuzz are how the tank is centered. The pads
are glued to the inside of the trunk in 4-6 different locations.
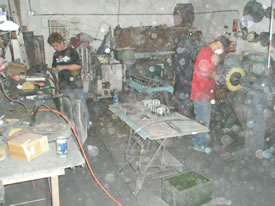
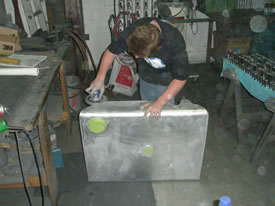
The picture on the right is the polishing shop down the street.
They are restoring the surface of the fuel tank by machine
and hand sanding, and hand and machine polishing. The reason
you can't see is because the flash caught the floating particles
in the air. You don't want to be in there too long without
a breathing apparatus.
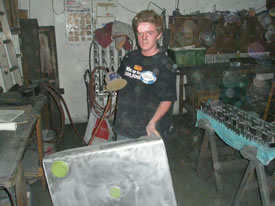
What you
can't see is what you can't hear. These guys have rock and
roll music up so loud you wonder how they concentrate on what
they're doing. I guess the music takes them somewhere other
than where they are. These guys deserve metals.
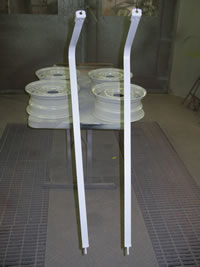
The straps
are tuned up for paint.
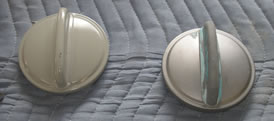
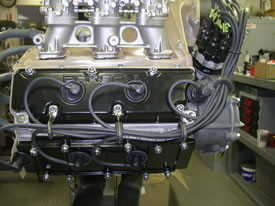
Dolphin
gray primer is always used before silver. Here are the plug
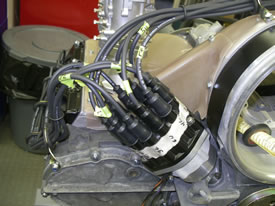
wires, which we make, installed on Tom's engine.
The green
tape marks the cylinder where the wires go. I remove the tape
when finished.
<<<
Previous Update | Next
Update >>