Martini
RSR Conversion
February 18, 2009
Welcome back people!
This is one of the entries for the Monterey Historics, which of course celebrates Porsche this year.
We will try to finish this car up in March so a lot is happening on the assembly of the car right now.
These pictures were taken months ago and the car is actually being assembled now.
In the next few weeks, we will catch up to the assembly and stay current right to the finish.
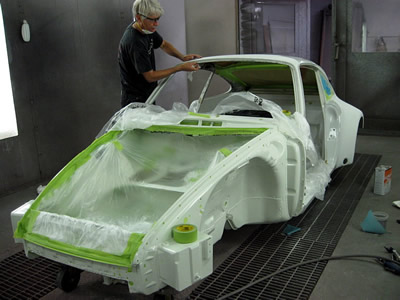
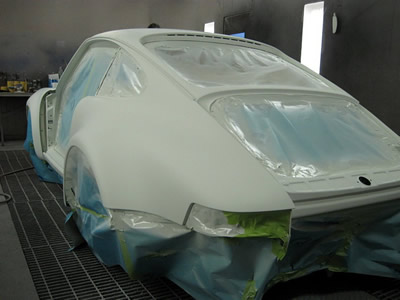
Andy is taping the cockpit and the front and rear trunk for the final silver paint on the outside.
Bill and I are preparing the white for silver.
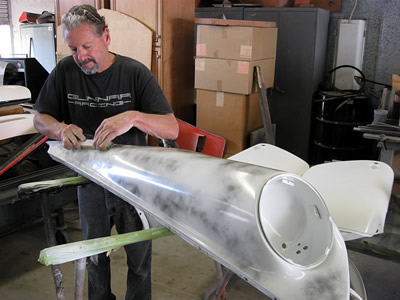
In this picture I have guide-coated (spray bomb black)
the fender so while sanding I can find any last pinholes or low spots.

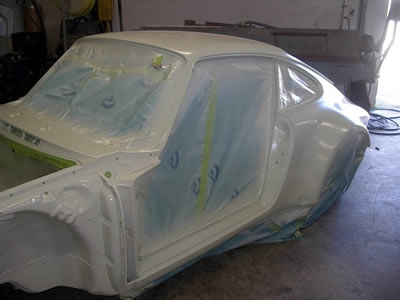
I am now painting the final base white for silver.

It's important that the base is white because the car was painted white originally.
Also, because the silver is kind of opaque,
it ends up being a different shade if it were painted on a gray or a tan primer.
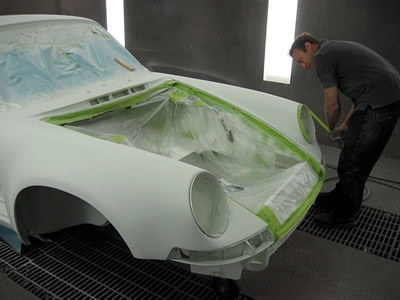
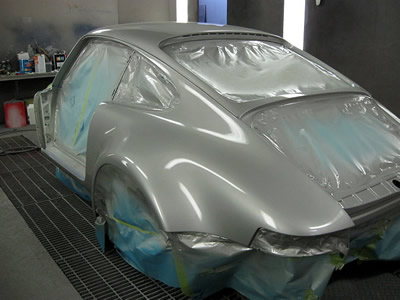
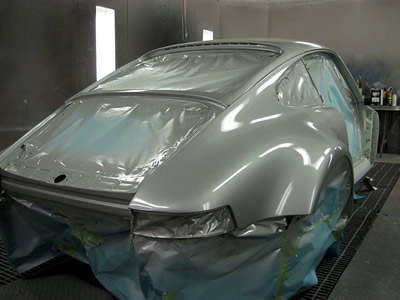
We're painting the car in single stage urethane silver.
The car was painted with single-stage, not two-stage. Meaning, no base-coat / clear-coat.
Bill is doing the final prep work while I'm mixing paint.
Ready to go.
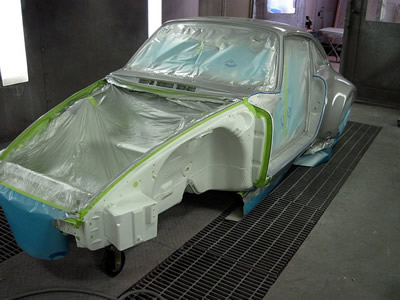
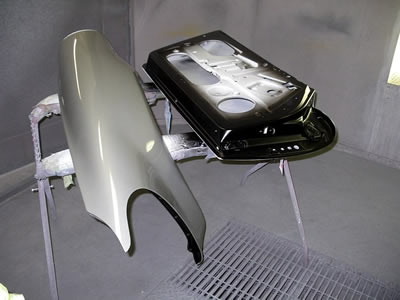
In this photo (it's out of sequence by about 10 minutes) we have already taken the front fenders off.
The reason we paint the car in one shoot is because of paint motting.
Motting is a term used when the metallics gather where there's paint build-up from overlapping coats.
So, the final coat of paint (which consists of 3 coats) has to really fan out to not cross over each pattern of paint.
If we were to paint all the parts separate, there would be different motting patterns.

The doors end up white and the outline is the Martini stripes, so there's no silver on the doors whatsoever.
Therefore, the doors didn't have to be on.
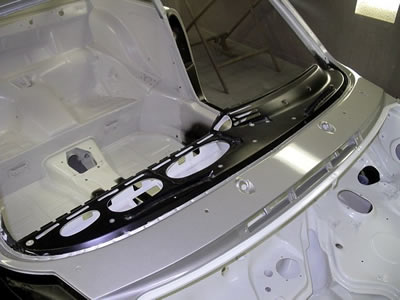
This picture shows the detail of the dash (satin black).
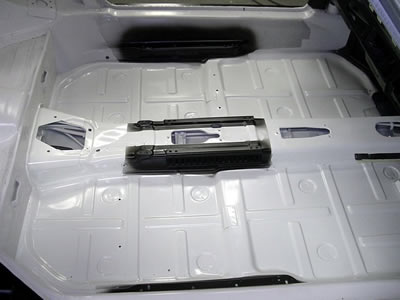
The floors in this car, when it became turbo charged, were painted black.
But, we believe, as the RSR, they stayed white.
Here are detail shots of the black, which was painted on the doors and the inside of the fender cavity at the A-pillar.
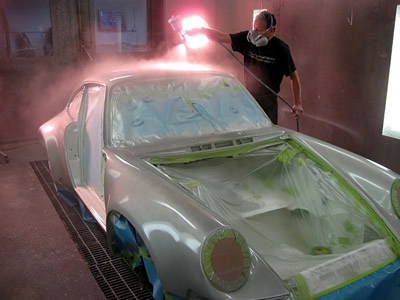
Here I am painting the complete body silver. The heat lamp is on in the back to generate a little heat.
The picture doesn't look too bad, but we did accomplish an "original patina look".
Base-coat / clear-coat almost looks like a machine painted surface.
When you shoot single-stage, "it ain't too perfect",
and of course this car was never done 100 point in the paint department.
Next update will be restoration of mechanical components and assembly.
<<<
Previous Update| Next Update >>>