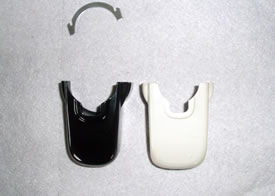
904-090
December 31, 2007
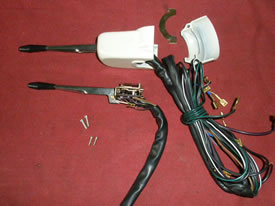
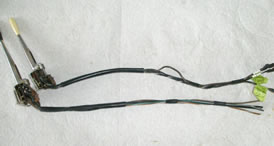
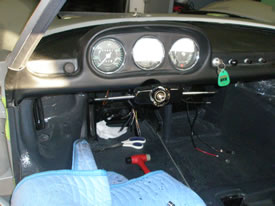
Andy has
finished with the re-invent of the blinker and wiper units.
As we said, the switch is almost identical to a 1967 VW bus.
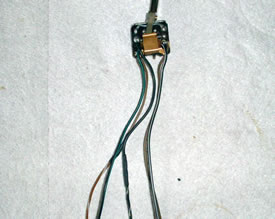
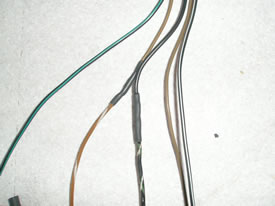
Andy has
to plot the wires, re-connect a few wires so the proper color
codes are visible, and of course, all the wires have to be
shortened with new ends installed. We have all the original
connectors for this process.
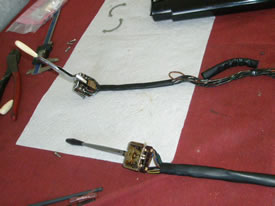
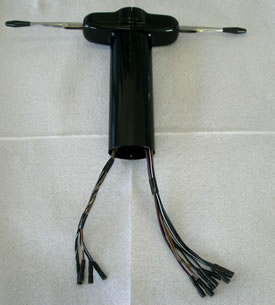
The housings
are almost identical, so we use 090's housing (the black one)
as a pattern to trim the column opening on the new one.
We have
ivory knobs and when they're installed, they are almost identical
in shape and look.
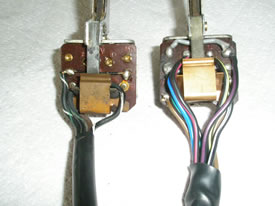
The good
news is that they work like new. Tom's old switches were just
a little worn out.
Remember,
the horn and the high beams are activated by the control of
these arms. You want these to work perfectly.
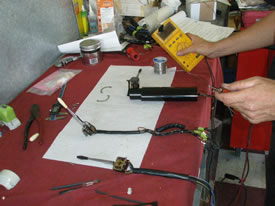
Tom's
new switches have been installed. We will change the knobs
out after it's re-installed in the dashboard.
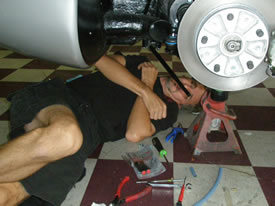
Bret is
hooking up the brake system...or is he really sleeping?
Remember,
we used an old set of lines as patterns. Now, Bret is installing
the new lines.
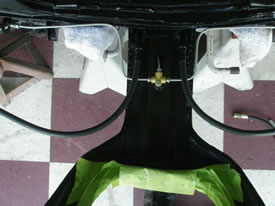
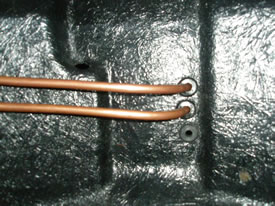
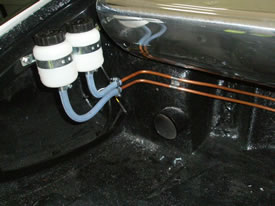
While
Bret was on his back, he installed the new master cylinder
with all new hardware. The fittings and the hard brake lines
are as original!
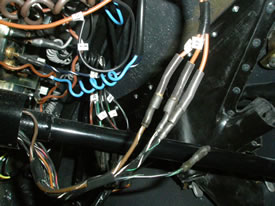
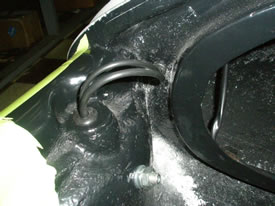
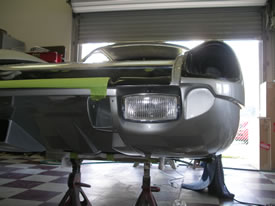
Andy has
got the column back in and is now hooking up the headlights.
The original 904 headlight mounting bolt came from the top
of the housing. Someone has re-mounted later lights (911).
We will install what was there in the past...besides, original
904 headlights are as about as rare as chicken's teeth.
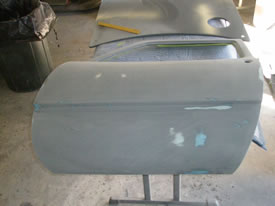
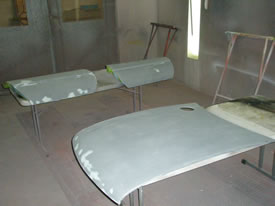
It seems
like I have about a month in each door...guess what...I do!
I am preparing the doors for the final light gray primer.
You would think the door would still be cherry from the last
time I block sanded and primed, but there is always a pinhole
or a little low spot that needs attention.
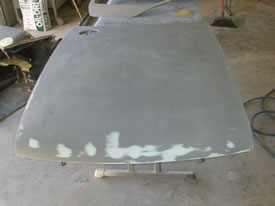
I am stick
sanding the hood for the final primer. You can see the filler
showing on the front leading edge.
The filler
is under the last primer, so the stick sanding pays off finding
high spots. While body work is conducted over months of time,
the good news is that things are still shrinking so block
sanding will get these parts even nicer.
Even after
the final primer, or even the final silver paint, when this
car gets in the sun, the body will move, stretch and shrink.
That will give the surface a little better original patina.
I will
spend approximately two days making the underside frame nice
enough for paint.
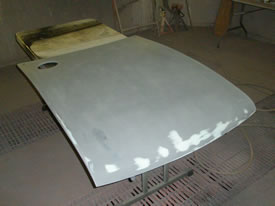
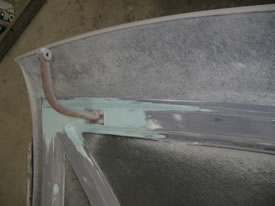
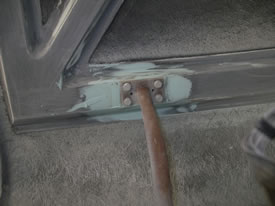
While
I was sanding the surface, I noticed two cracks around the
right hinge. Upon grinding the paint away, I noticed that
the fiberglass in the area was fatigued. I don't know why
I didn't see it before...I thought I was so perfect!
Guess
what?...not even I am perfect, so I used epoxy and German
cloth to repair the area. A little bit of filler and it's
as good as new.
The hinge
will be removed and painted and then re-installed. You can
see the two 1/8" index holes. These are there to keep
it in perfect alignment so the hood fits perfectly.
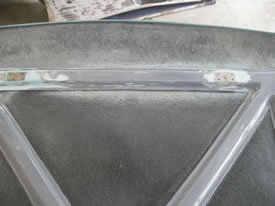
A lot
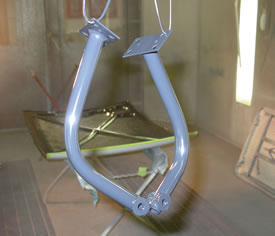
of sanding and now it's ready for black primer.
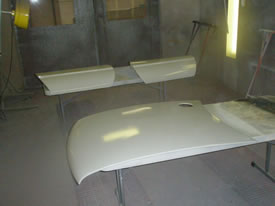
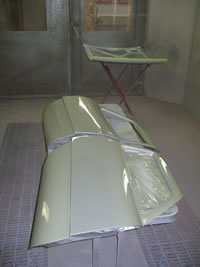
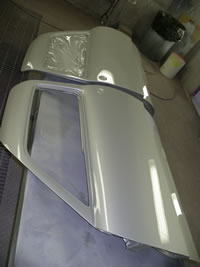
The doors
are finally fucking painted....did I say fucking?
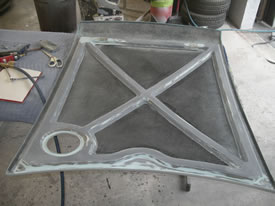
The hood
turned out real nice, but it should have. I've got about $15,000
worth of time in it and it's lighter than it was when new.
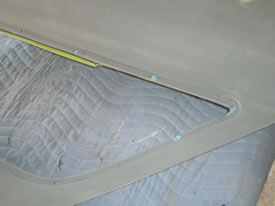
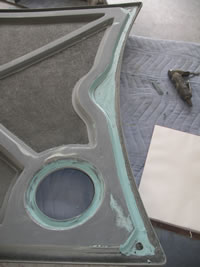
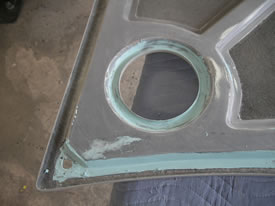
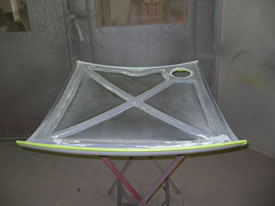
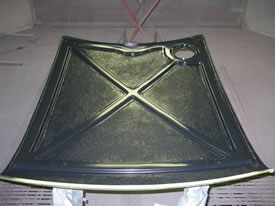
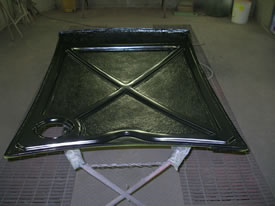
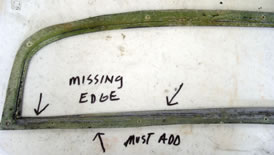
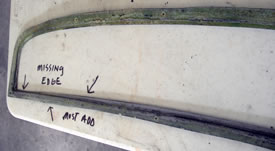
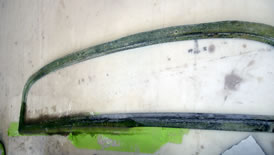
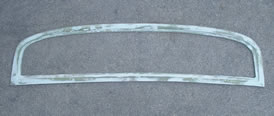
Now the
rear window frame. Don't know why, but it was cut and trimmed
beyond the original shape. So, I have to add glass to make
it original.
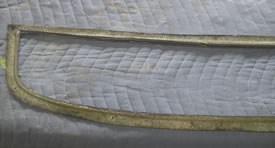
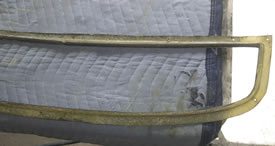
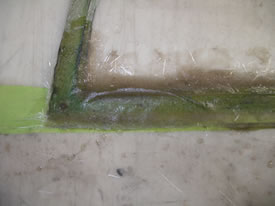
I am pulling
off a foam gasket, which keeps tension on the plastic window.
You can see I have written where the material has been removed
from the window frame.
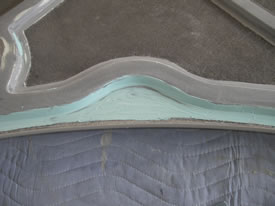
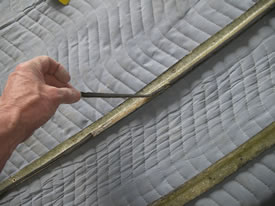
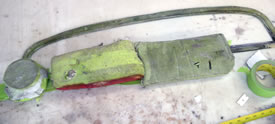
I made
a paint stick pattern with tape to re-enact the stepped edge
of the frame and then used lead bags on the plastic lay up
table. I used two or three layers of mat and cabosil to accomplish
the repair.
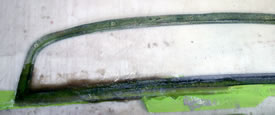
After
it's dry, the weight comes off and I make a special sanding
block, which has the same shape as the step in the window
frame, to sand the complete frame.
These
parts were make from a crude two-piece mold (press mold) which
enables the part to be smooth on both sides. The problem is,
the folks who made the parts never had enough material between
the two mold halves. When the part came out of the mold, there
were many pin holes and areas where the fiberglass never took
the same form as the mold. This part was no exception. The
filler is used to fill in the hundreds of imperfections in
this original part. Just for the record, the same guy made
all these parts cuz we've never seen a 904 that had a nice
original rear window frame, that unless it was restored, looked
like all the others...shitty. Now you ask yourself, why don't
you leave the part alone because that's the way they made
it. I'm giving Porsche credit that they didn't make the part
and they needed to get the cars done in a hurry, so even they
looked past a lot of the defects in the fiberglass body parts.
I just can't leave some of these parts alone because after
the restoration, if I did, people would ask me why I didn't
finish that part better. It's a "catch 22" these
days about the big word...Patina.
I will explain patina on Porsches in 2008.
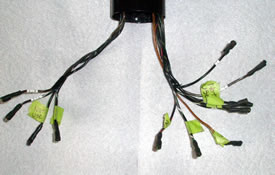
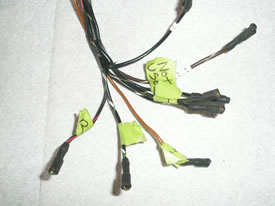
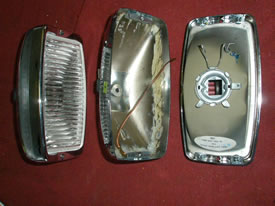
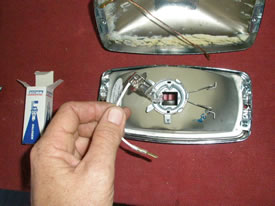
Andy is
making sure the wires are correct before the bulbs are installed.
Ain't
they pretty?
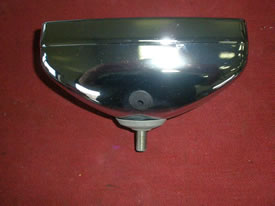
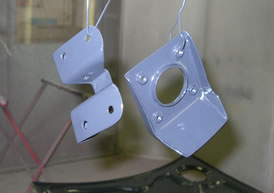
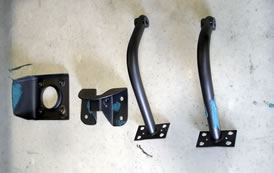
One light
is installed and the hinges are painted black primer (the
reflection makes them look gray).
These
brackets are from the tail. The square one lines it up on
the frame and the other one is the hinge pivot in the rear.
Again,
these parts are actually black.
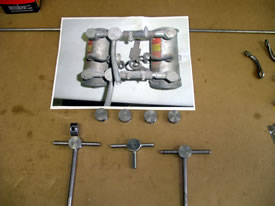
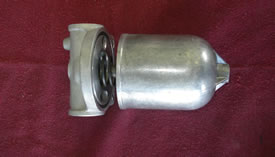
We used
a picture from the fuel pumps of 904-040 and one fuel T from
090 and are making fuel T's for 068, 119. We are using the
same part to make the carburetor T's, which act as the splitter
from one carburetor to the other. The picture on the right
is the restored oil filter housing. In one of the previous
updates, you can see this part disassembled. We are waiting
for those 6 sacks of plating to come back from the plater.
A lot of the missing parts are in those sacks. We need these
parts quickly so we can finish the brake system, oil system,
and the fuel system. The holidays don't do a lot of good when
you're waiting for parts. I know, I should have sent the parts
3 years ago...I guess I forgot.
Happy
New Year!
<<<
Previous Update | Next
Update >>