904-090
June 23, 2004
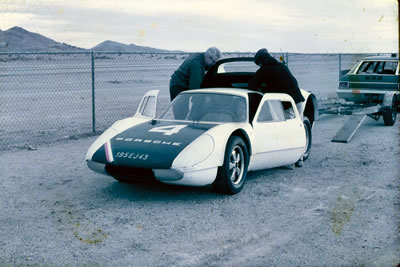
I just
recently got this photo from Jeff Klein (long time IMSA racer).
I was Jeff's crew chief, when he drove Jim Busby's Miller
962 at San Antonio in the late 80's. This picture is taken
at Willow Springs in 1971, when Rudy first got the car. A
very young Jeff raced this car for Rudy. Jeff has some great
memories of this car and we will write about them later in
the project.
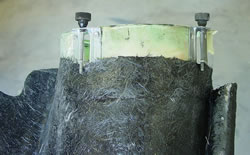
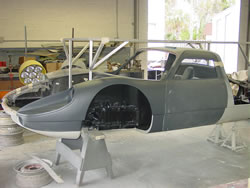
In the
last update we were "Saving Private Headlight".
This picture shows the headlight adjusters, which are riveted
to a fiberglass housing. These housings are then glassed to
the bucket
(after they are lined up of course). Who wants crooked headlights?
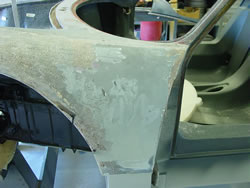
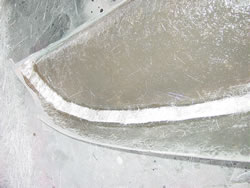
I've smeared
cabosil in all the areas where the bucket will be re-glued.
When the
glue dries, the grinders come out and prepare the surfaces
for body filler.
Remember,
it's not a sin to give a forty year old panel a skin of plastic
(bondo). Just try to have all the bodywork repaired with glass
so you don't have to apply too much filler
(weight is everything even on an old racer).
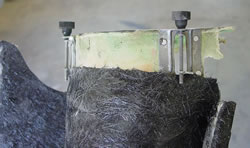
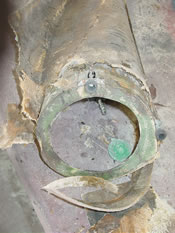
The back
of the fender still needs to have the surface ground away.
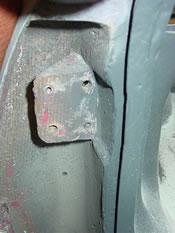
The picture on the right shows two 6 mm threadserts missing
from the "A" pillar. We will re-glue two serts back
in the holes.
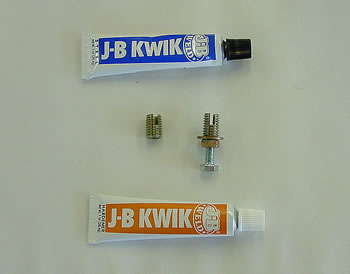
This picture
shows what it takes to glue a threadsert into a piece of fiberglass.
First you would tap the hole, then you install a 6 mm bolt
with a lock nut and washer. Next, mix any good five minute
epoxy (we use JB Weld), spread it in the hole and on the outside
of the insert. Times a wastin so hurry and screw the insert
into the threaded hole and before it dries, undo the lock
nut and bolt and then remove the washer. Wipe the excess epoxy
away and let it cure. Bingo, one very cool hinge post ready
for a door. By the way, you can purchase these inserts from
metric hardware companies.
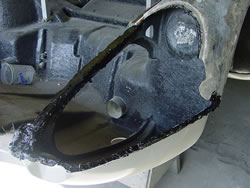
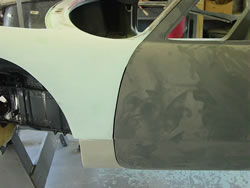
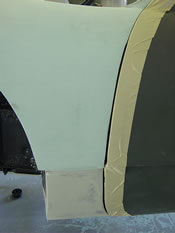
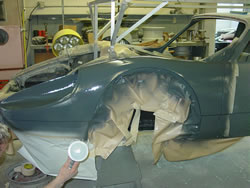
Now, the
door is installed and the body filler is spread to be level
with the existing door skin. After the bodywork and seam is
to your liking, give her a shot of duratech.
I have
fans rolling so I don't have to worry about breathing duratech.
But I suggest you use a mask every time you spray this shit!!
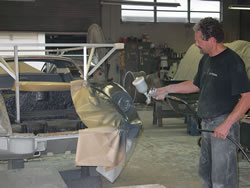
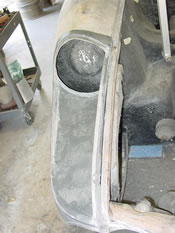
Wow! Now
to the other side.
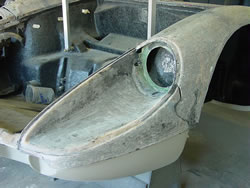
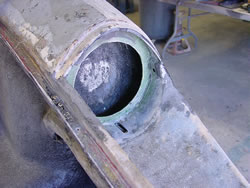
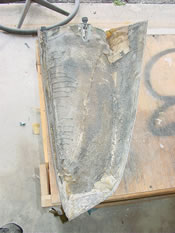
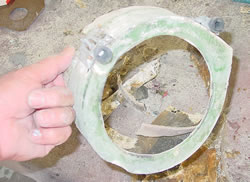
This headlight
bucket is beyond fixing (I never should have fixed the other
side) so I've made a new bucket and now I have to remove the
headlight housing. This is like unearthing a dinosaur, because
you have to remove the part without destroying it. This could
take half a day, but if you succeed, the repair after it's
removed is easy.
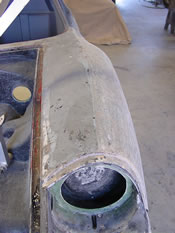
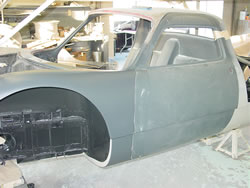
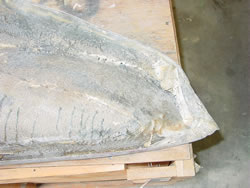
The left
side of the nose was hit two times. The right side of the
nose (this headlight bucket) must have been hit 10 times!
Such as life.
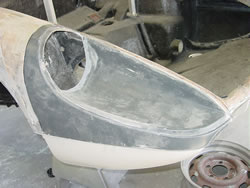
It's hard
to see in the picture, that the headlight cover has been replaced
five times or at least there are five holes at every mounting
screw.
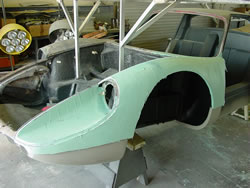
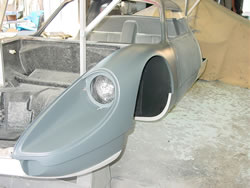
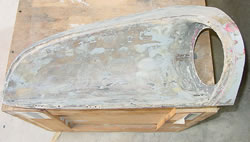
The new
bucket is installed but not glued in. I'll do that in the
next few days.
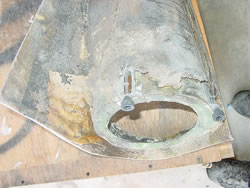
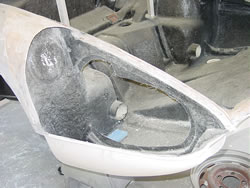
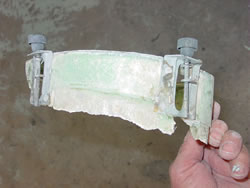
I forgot
that the brass inserts for the 3 mm screws that hold the headlight
cover on are installed in a way just like the door posts (threadserts).
Because the fiberglass material is thin in these areas, there
is not enough meat for the threadsert to be screwed in. These
pictures show me adding three layers of 1 1/2 oz mat where
the inserts will be installed. More meat more strength.
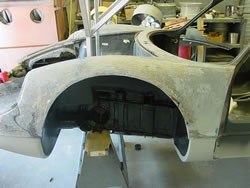
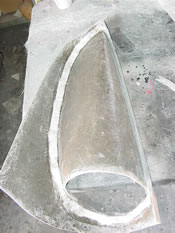
After
fighting, chipping, grinding, hitting, and scraping I got
the housing free and it's in pretty good shape.
This will
be reinstalled in the new bucket.
<<<
Previous Update | Next Update
>>>