906-138
September 11, 2002
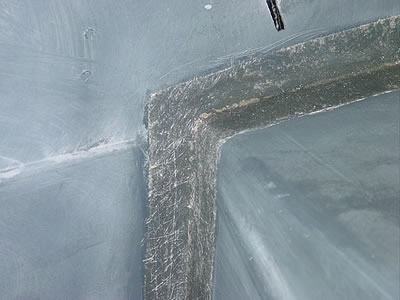
This is where the
door sill meets the firewall. Sanding these patches smooth
until they blend in sounds like a great idea, but it would
not be a proper restoration. Were all patches this straight
and smooth on the factory cars? No, but this is the method
they used, and we have more time between races then they had.
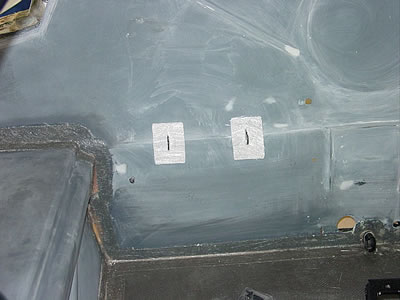
Here is the drivers
side area. The two white squares will seal the seat bracket
area.

We are not finished
with the firewall, but the next couple of steps are critical.
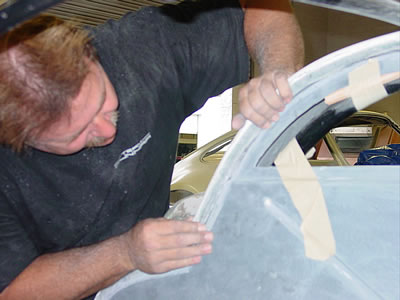
Jack starts on the roof panel, sanding through the layers
of paint until he reaches the original glass. The aluminum
scoops were hard-riveted from the factory. They were nicely
done, we will leave them in place and work around them.
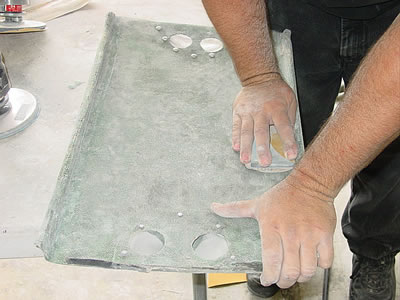
The underside requires
just as much work.
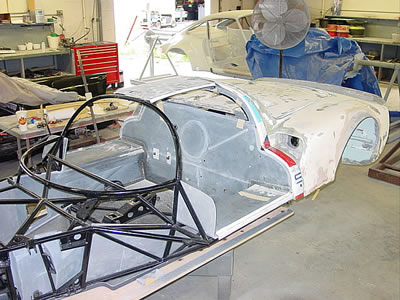
Now you
can see why it was important to drop everything and work on
the roof. This is a critical time for aligning bodywork. We
must attach the roof panel, the firewall, the section of bodywork
over the rollbar, the tail, and finally the white outside
edges of the door sills.
Jack is being careful
to shim the firewall as necessary. These steps look easy,
but took all afternoon.
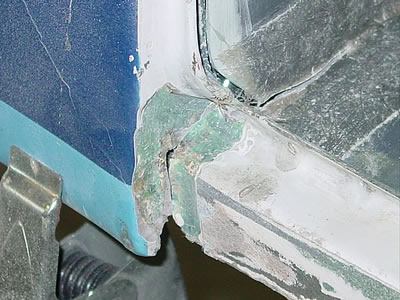
This is
where we cut the door sill from the body during disassembly.
As you can see it matched up perfectly. But that's also the
problem. You could never make a strong bond. Using clamps
to hold the bodywork in place, we grind approximately half
the thickness away. This allows us to build a strong patch
using five layers of thin cloth and still be slightly below
the original surface.
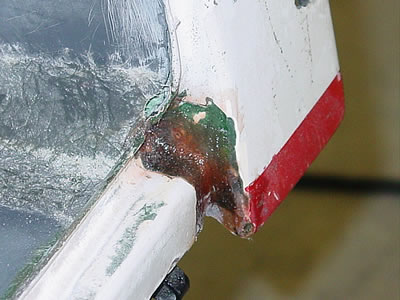
We use glass in
most areas, but here epoxy is a better choice.
<<
Previous Update | Next Update >>