|
904-068
January 4, 2008
We
know how our website visitors like it when we make things. Sometimes
we are in such a hurry that we can't take pictures of the process.
Here, Bret is making inside door handles for 068 and 119. Remember,
it's easier to make these parts all at the same time.
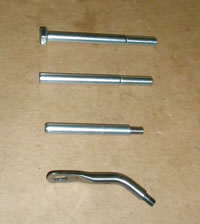
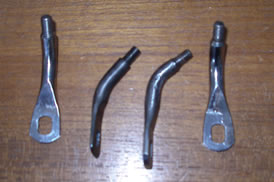
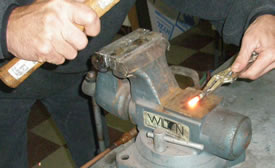
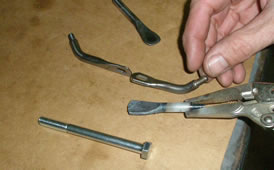
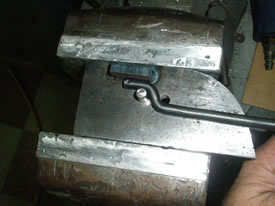
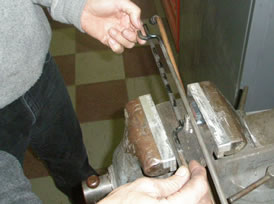
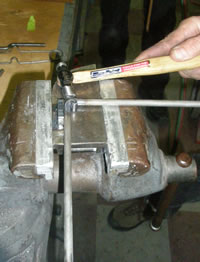
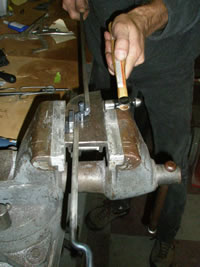
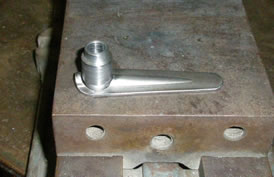
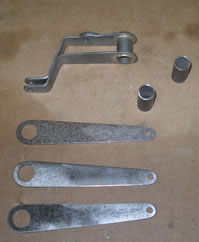
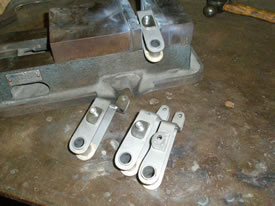
The
photo on the left shows the stage of using an 8mm bolt and altering
it with a hammer, a little fire, some grinding, and a 6mm die.
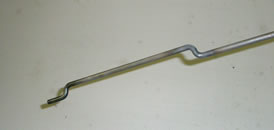
You end up with the finished parts on the right.
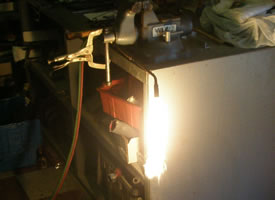
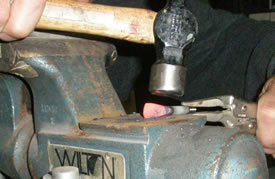
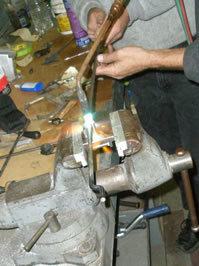
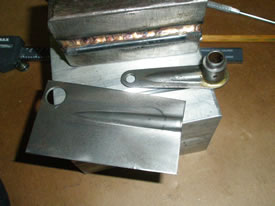
These
parts are now ready for the chrome. Bret has mounted the torch
on the side of the workbench, which will product red-hot metal
so he can pound it into shape.
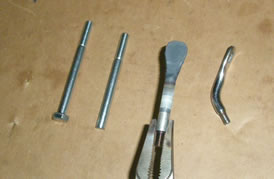
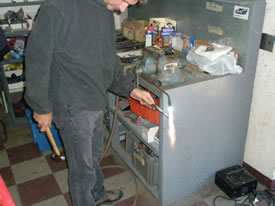
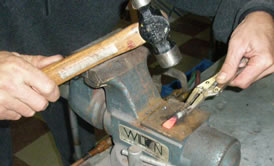
Notice,
he doesn't touch the hot metal with his bare hands. He thinks
the red metal will hurt his fingers, so he uses vise grips,
which will also be hot in a few minutes, so a quick trip to
the bathroom sink is in order every few heat cycles.
Andy
thought maybe Bret could make horse shoes after he did such
a great job shaping the flat on the door lever.
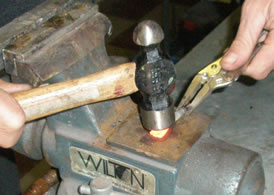
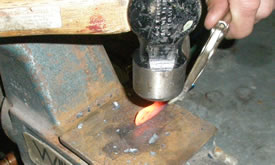
A
little tap here, a little tap there...
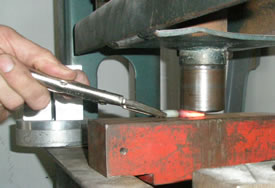
Now,
to get it good and flat, the stud gets heated one more time
and then squeezed in the press. This eliminates hammer marks.
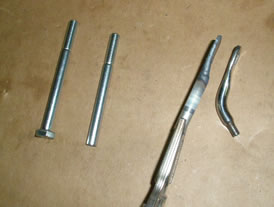
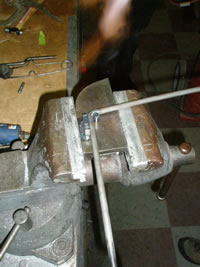
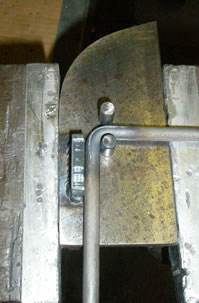
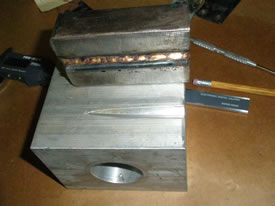
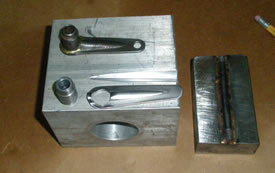
Hey,
look...they're almost the same! I told Bret that close enough
is good enough. You can still only see one at a time. The picture
on the right is my body shop dolly that Bret has converted into
a forming tool. Remember, the gas tank strap retainers were
made from the same dolly.
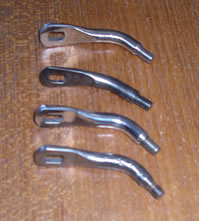
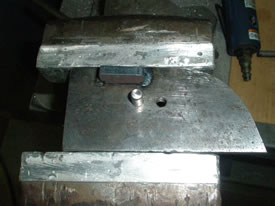
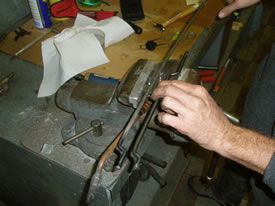
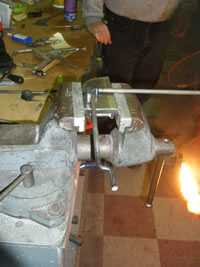
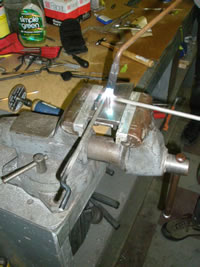
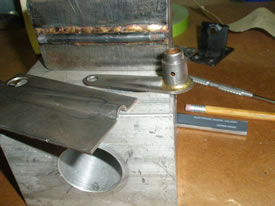
The
part that Bret's making now is the lever that adjusts the pedals.
We only had one from 090 and we needed 2 more. You can see the
steps of how the material is also heated red hot and then formed
through the two studs that are screwed into the tool.
Each
time a bend is made, the material is measured for accuracy using
the original part.
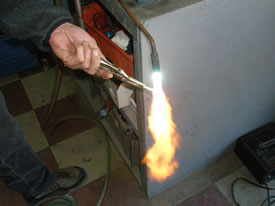
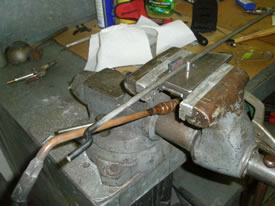
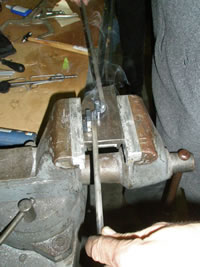
The
torch has been Bret's best friend because in the last 3 days,
it's been pretty cold to us Floridans. The heat from the torch
is a welcome addition to a cold shop.
More
bending...
and
another bend...
Bingo,
the shape is now accurate to the original.
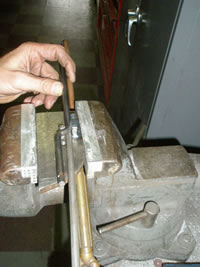
Now,
Bret has to make the linkage arm for the cable, which is adjusted
by the driver to position the pedals forwards or backwards.
Remember, the 904 has a stationary seat, so you adjust the pedals
and you adjust the steering column for driver's comfort.
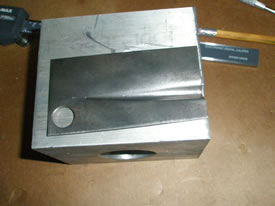
Crude
and simple is the forming tool that makes the crease which gives
the part strength.
This
is put in a press and out comes the perfect part. Now the round
bobbin that has been made on the lathe will be silver soldered
to the arm and ready for paint and installation.
This
is the bell crank for the throttle pedal. 090 is the donor again
for this part and we needed to make two. You know how it is
when you buy a basket case, it always comes complete...ha ha
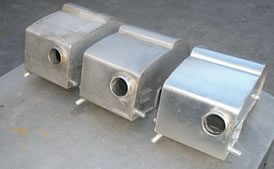
ha! These parts are not available anymore, so rather than waste
the time trying to find them, we just make them. One of these
oil tanks is for 068. Andy has just cleaned them and they are
headed for the polisher.
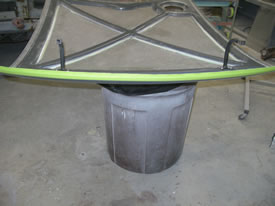
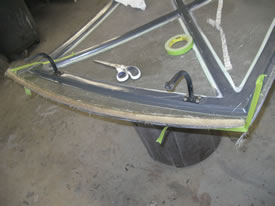
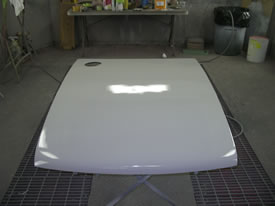
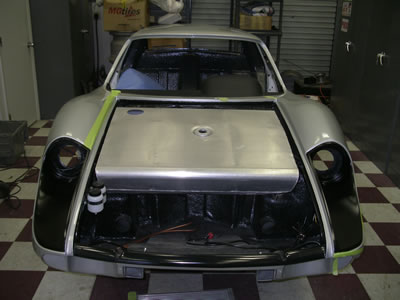
The
hood has been fit, but it needs the front leading edge. This
always has to be made to fit the car, so I mark the hood...
tape
off the inside, and apply a 13mm edge of clay.
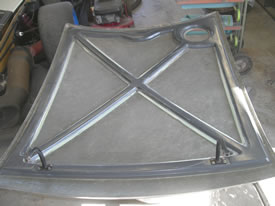
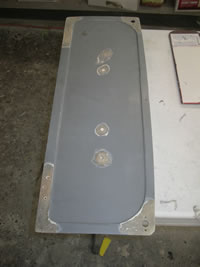
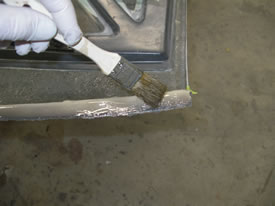
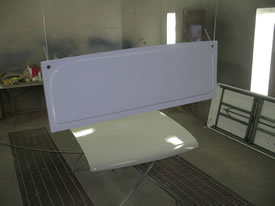
Here
is Mike's deck cover before it goes to primer. You can see I
am installing the clay sticks on top of the tape because you
don't want the grease from the clay to contaminate the fiberglass.
Paint doesn't stick so good to clay.
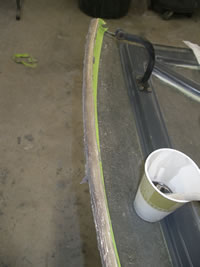
Once
the edge is complete, I smooth the clay to ready it for three
layers of 3/4 ounce mat.
Now
ready for the lay up.
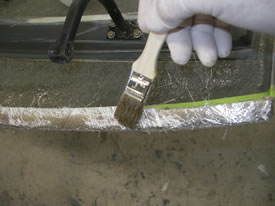
A
thin layer of cabosil is applied.
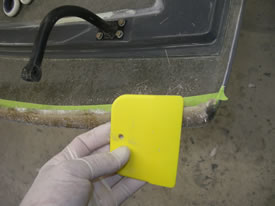
Then,
the material. After the material is applied, I use a spreader
to flatten the surface.
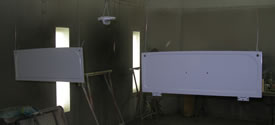
While
the edge is curing, I prime the two deck lids (068 - first primer,
090 - final primer).
Now
the final gas cap is primed.
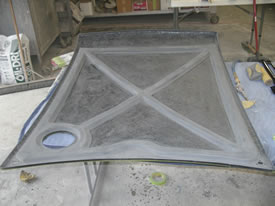
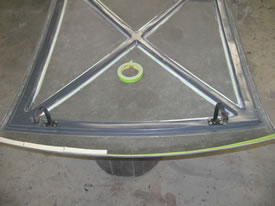
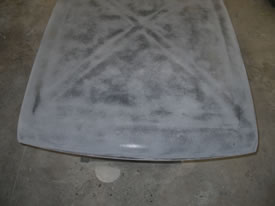
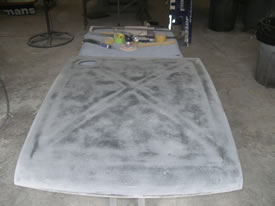
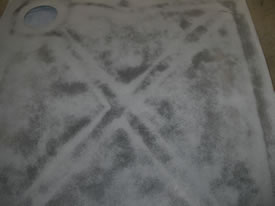
You
can see after sanding the duratec, the X pattern reveals itself.
This is produced by the curing of the resin and cabosil when
the strengthing structure was glued from the inside. If this
hood was made with twice the material, this pattern would be
hardly noticeable, but the hood would be much heavier. Some
hoods have a lot of material, some hoods don't. I, myself, am
not bothered when you see structure patterns in a fiberglass
body as it sits in the sun. It tells me the fiberglass was applied
in a lightweight manner.
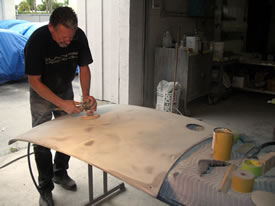
I
will give the hood a thin coat of filler and then block sand
to obtain a more even surface.
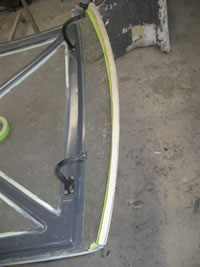
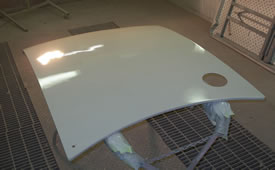
After
four coats of dolphin gray urethane primer, the hood will be
block sanded to obtain a nice flat finish. The hood still remains
very light weight. When the car gets in the sun, you might still
be able to see the pattern of the inside structure, but as the
hood cools, most the time the pattern disappears.
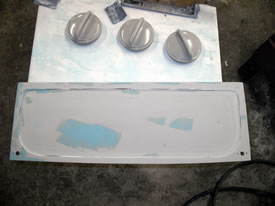
Final
paint now on the deck lid cover and first primer on the hood.
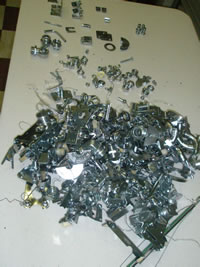
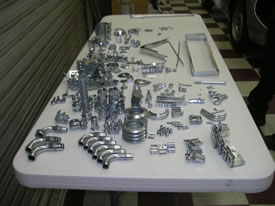
Well, we got the plating back today. Sometime in '09, we'll
have the parts sorted out as to where they go...ha ha!
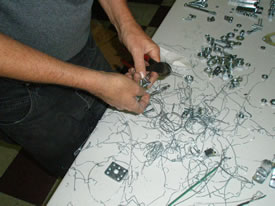
All
these parts are connected with thin wire so they can be submerged
in the plating tanks. When we get the parts back, they are still
connected to all the wire. This is a tedious process undoing
a million parts
Bret
has now assembled the throttle bell cranks. He has made the
pieces and silver soldered them together. This is how the factory
made this part. The parts will be media blasted and painted
black.
The
gas tank is now installed and will be fit with the new hardware
that we just received from the plater. This tank will need to
be polished before final installation.
<<
Previous Update | Next Update
>>
|